I am NOT a designer, and I’ve proved this to myself time and time again. But that doesn’t mean I can’t still create simple things, like images for social media, infographics for the blog, and even checklists and downloads that look nice for our communities.
The tools and resources I use for design are ones I can’t live without, and once you try them out for yourselves, I think you’ll feel the same way.
PicMonkey for creating images
How I use PicMonkey
I use PicMonkey to edit existing images, add text to images, and even to create images from scratch.
Why I love PicMonkey
What’s great about PicMonkey is you don’t have to be a professional designer to create a good looking image. They have a super easy-to-use toolkit that offers text, overlays, shapes, boarders – even tools you can use to put filters on images.
Here’s a peek at their “toolkit” – each of those icons on the left opens up a whole new set of fun effects, overlays, and other features you can use to spruce up your images:

Here’s one image I uploaded to PicMonkey, and then added an overlay and text to:

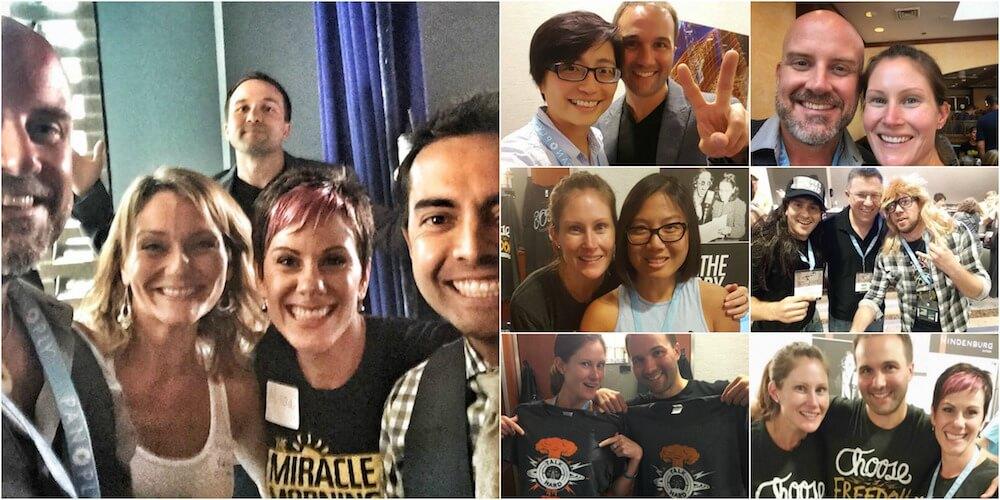
PicMonkey is also great for creating collages with multiple images, like this one I created after Podcast Movement 2016:

Pretty much every image you’ve seen here on the blog was either created or edited using PicMonkey!
There is a totally free version of PicMonkey, which I used for a long time before upgrading to the “Royale” membership. Given all the extras you get with Royale, it’s worth the $33 / year.
Compare this tool
Canva: I’ve heard a lot of people rave about Canva, and I’ve used it myself on several occasions. I think what prevents me from using it more often is there are simply too many options; they literally have hundreds of banners, templates, and options to choose from, and for me, the fewer, the better!
Canva is a great tool though, and it’s super helpful when your looking to create images or infographics from scratch. Canva has a free and paid versions.
TinyPNG for shrinking images
How I use TinyPNG
To reduce the file size of my images before uploading or sending them via email.
Why I love TinyPNG
Ever visit a website or a blog post that takes ages to load? Chances are, it’s a result of that site or page loading images that are massive in size. I love TinyPNG because it allows you upload any image and within seconds it will shrink the file size by 60, 70, sometimes even 80% of the original without losing any of the quality.
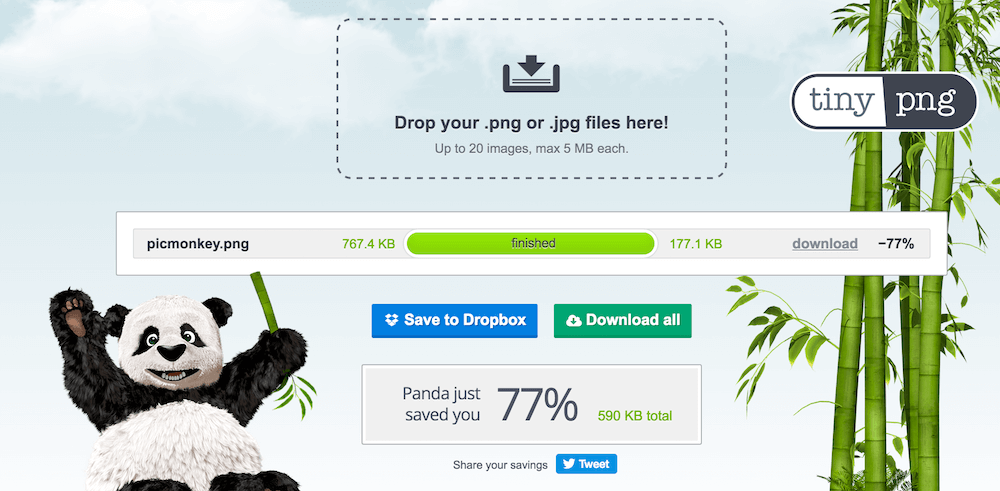
Here’s TinyPNG working its magic – you’ll see the image I uploaded started at 767 kb, and it gave it back to me at just 177 kb:

TinyPNG is also totally free.
Compare this tool
PicResize: This is another tool I’ve used on several occasions to shrink the size of image files, but more often than not I use it simply to resize multiple images completely (so not necessarily the size of the file, but the size of the image itself).
PicResize allows you to do bulk resizes, so say you have 20 images that you want to all be 200×200, you can upload them all and tell it to resize every image to 200×200. As long as the % is equal, you can resize as many images as you want all at the same time.
Photoshop for layering images
How I use Photoshop
Even though I’ve taken several online classes to learn Photoshop, I realize that the level of the program far exceeds my design skill. Nonetheless, I use Photoshop primarily to layer images.
Why I love Photoshop
While it’s super complex, I love that Photoshop allows me to layer and alter images in ways that I wouldn’t otherwise know how to.
For example, if I have an image that I’m putting on the blog, and I want the EOFire logo to be a part of it, I can make that happen quickly and easily using Photoshop – like this:

This image was originally created in PicMonkey, and then brought into Photoshop in order to add our logo to the top.
Also, every image you see as the “featured image” on the blog here? That was created using Photoshop, too… but I can’t take any of the credit ;) Our designer created a template for me using Photoshop, and it has 5 different options I can choose from. Once I have the image and text overlay I want selected, then I can edit the text and I’m good to go!
Photoshop is part of the Adobe Creative Cloud, so if you have that subscription ($50 / month), then you can use Photoshop. If not, it’s $20 / month for the single app.
Compare this tool
Illustrator: This is somewhat similar to Photoshop in terms of what it will allow you to do, but unlike my ability to “get” some of Photoshop, I get ZERO of Illustrator. I’ll leave this tool for the pro’s :)
Adobe Acrobat for PDF’s
How I use Acrobat
I use Acrobat for SO much, including creating PDF downloads, forms, saving sponsorship agreements, signing documents, building eBooks and more.
Why I love Acrobat
It allows you to do so much! And it works great with Microsoft Word and other programs. Acrobat is great because it not only allows you to create professional looking downloads and documents, but it also has some impressive editing tools and gives you the ability to create form fields.
Here’s an example of what a form looks like once it’s created in Acrobat – see the blue area? That means someone can type directly in the PDF, just like an online workbook:

Any opt in download, PDF document, or eBook you’ve seen here at EOFire was at one point run through Acrobat. You can use it for free, but to have access to all of the bells and whistle, you have to subscribe (included with Creative Cloud).
Compare this tool
I honestly don’t know what to compare this to. I guess for advanced designers, you might compare some of the capabilities Acrobat has to Illustrator, but how I use it, I don’t know of a comparable tool.
Instagram for filters
How I use Instagram
I know it’s a social media platform, but sometimes I’ll use Instagram just for its filters.
Why I love Instagram
I love how easy it is to create filters for images on Instagram without actually having to post them on Instagram. Wait, what?… Tune in to today’s episode to hear how I do this, and how on earth I figured it out ;)
Compare this tool
Word Swag: Add colored text and overlays to your images!
Here’s an example of an image I posted on Instagram, but that I ran through Word Swag first to be able to add the text in the upper lefthand corner:

Camera+: Great for quickly editing images and adding filters.
Pic Stitch: Allows you to edit images and created collages straight from your phone.
Eye Dropper: *Bonus tool / resource*
So this is a bit of a bonus since I’m adding it in after I published / recorded this ep, but it’s a GREAT one: it’s a Chrome extension called “Eye Dropper”.
What Eye Dropper does is it allows you to get the rgb color code for any color you see on a web page. So when you’re creating something on your own, customizing an opt in page, or even working with a designer, you can quickly and easily get the exact rgb color code for any color.
This helps make sure you’re being consistent and that your pages and designs look just the way you want them to. Pretty awesome, right!?
Plus, it’s totally free :)
Recommended design resources
We’re entrepreneurs, superheroes, and rockstars, but we can’t do it all – especially when it comes to the things that are super important for our business, but that we’re not experienced with or great at handling.
For me, design is one of those things, which is why over time we’ve graduated ourselves from totally hacking it, to hiring designing for individuals jobs, and most recently, hiring a designer on retainer who we now turn to for all of our design projects.
Here are some resources for you if you’re looking to create something and don’t want to do it yourself.
Up next in Season 3
Up next we’re going to be talking about tools and resources for your website.
Wondering what the best plugin’s are, and where you should turn for things like hosting, support, and backups? I’ve got you covered!
